집이나 회사에서 haskell 프로젝트를 진행하다보면, 환경구성도 똑같이 안맞춰지고 ghc 설치를 시도하다가 stack sandbox ghc와 충돌이나기도 해서 삽질을 많이했다. Dockerfile 로 haskell base 이미지에서 vs-code extension에서 사용되는 패키지들을 stack으로 설치했었다. 우연히 .devcontainer 로 개발환경구성을 편하게 하는 방법을 찾아서 공유한다.
DevContainer in VS Code
프로젝트 폴더 내에 .devcontainer 라는 폴더를 만들고 아래 두 항목을 만든다.
- Dockerfile
- devcontainer.json
Dockerfile은 프로젝트 환경 구성에 사용할 파일이고, devcontainer.json은 extension, setting을 정의한다. 물론 프로젝트에 따라 docker-compose를 사용해도 된다. 관련된 사항은 구글링으로…
Dockerfile
현재 사용하고 있는 Dockerfile은 아주 간단하다. stack과 cabal이 깔려있는 haskell:8.10.4 를 base image로 사용하고, linting & formatting에 사용할 hlint stylish-haskell hindent 와 debugging에 사용할 haskell-dap ghci-dap haskell-debug-adapter 를 설치한다.
from haskell:8.10.4

RUN stack install hlint ghcid stylish-haskell hindent
RUN stack install haskell-dap ghci-dap haskell-debug-adapter
devcontainer.json
{
    "name": "Some Project",
    "dockerFile": "Dockerfile",
    "runArgs": [],
    "settings": {
        "haskell.languageServerVariant": "haskell-language-server",
        "haskell.formattingProvider": "stylish-haskell",
        "editor.tabSize": 2,
        "editor.formatOnPaste": true,
        "editor.formatOnSave": true
    },
    "extensions": [
        "haskell.haskell",
        "sergey-kintsel.haskell-formatter-vscode-extension",
        "justusadam.language-haskell",
        "hoovercj.haskell-linter",
        "ayh.ppmviewer",
        "phoityne.phoityne-vscode"
    ]
}
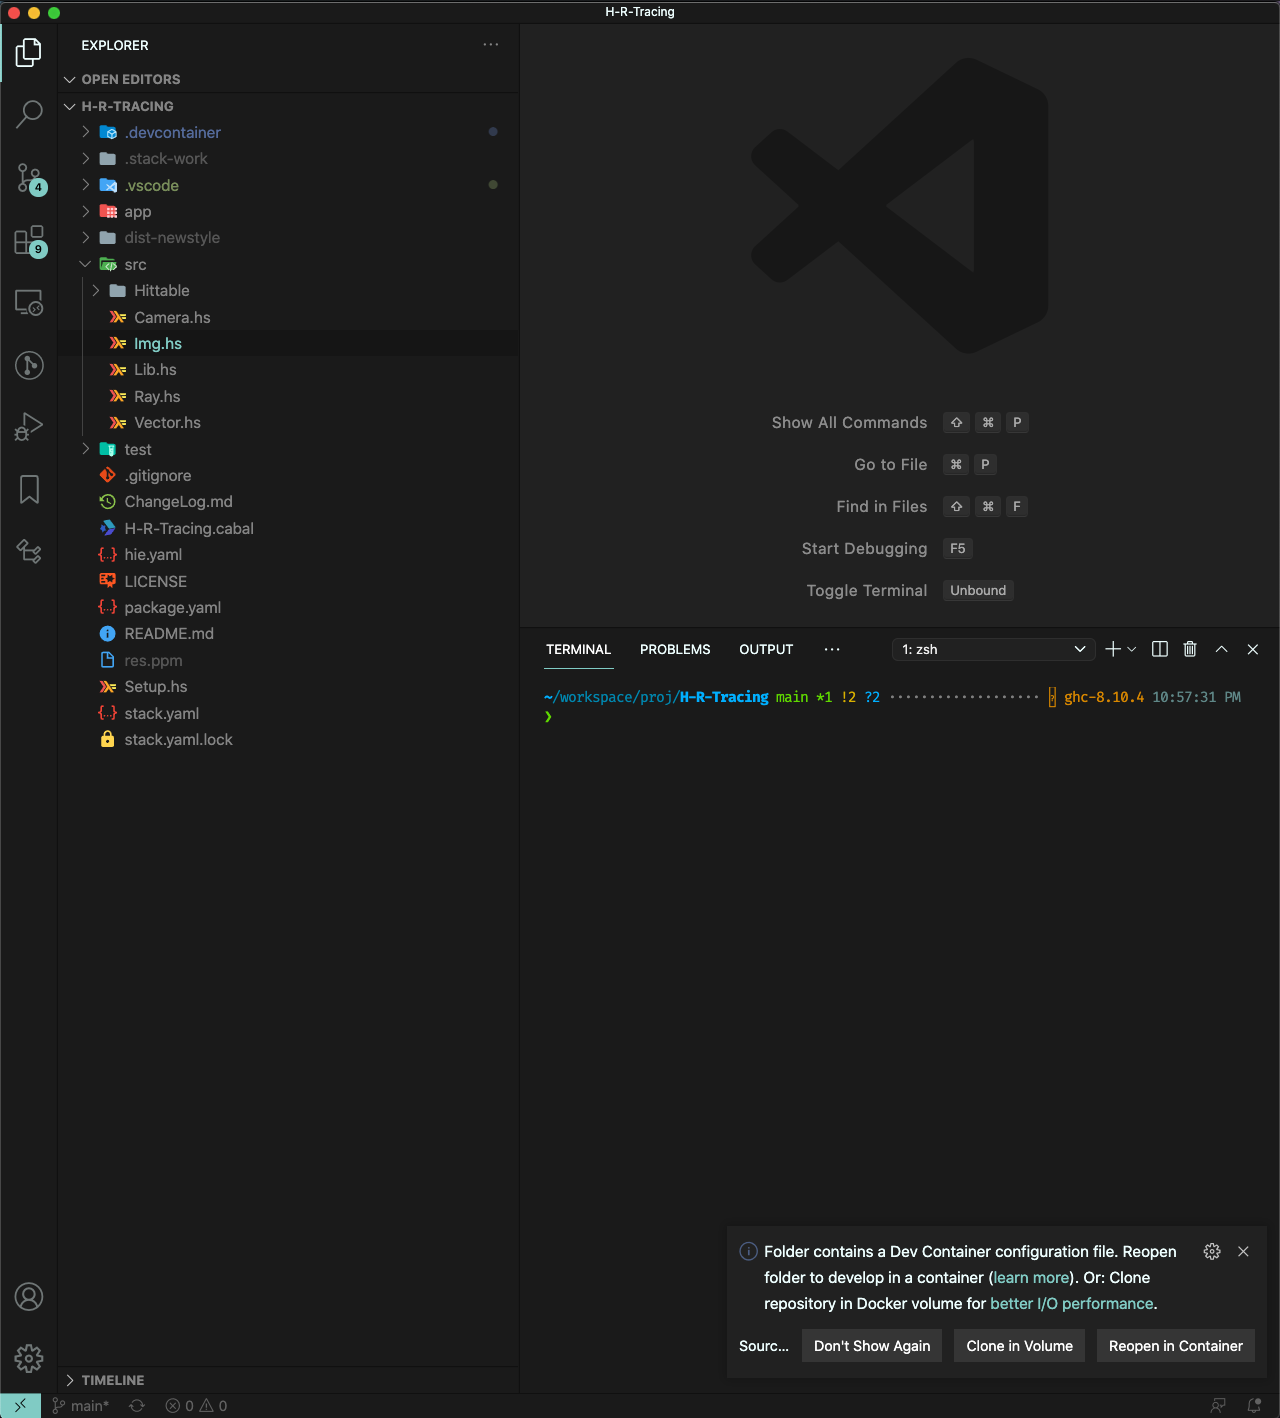
위 구성으로 VS code project open시 아래와 같이 editor 하단에 Reopen in Container 를 볼 수 있다. 필자는 extention install & extension setting configuration 용도 + system 환경 충돌 이유로 사용했지만, 해당 링크에서 더 자세히 사용할 수 있다.
Project Start
아직 프로젝트를 시작조차 안해서 stack new 로 생성해야 한다면, docker run haskell:8.10.4 로 volume을 마운팅하고, project를 생성한 다음 .devcontainer를 만드는 것도 추천한다.
docker run -it -v $(pwd):/workspace haskell:8.10.4 /bin/bash
root@43220d499b04:/# cd workspace/
root@43220d499b04:/workspace# stack new asdf
exit
Stack
간단하게 내가 사용한 것만 집고 넘어가긴 하겠다만, 한 30분 정도 진득하게 guide를 읽어보는 것을 더 추천한다.
stack build
위 커맨드로 생성한 프로젝트를 vs code로 켰을 때는 당장 intellisense가 작동하지 않을 것이다.
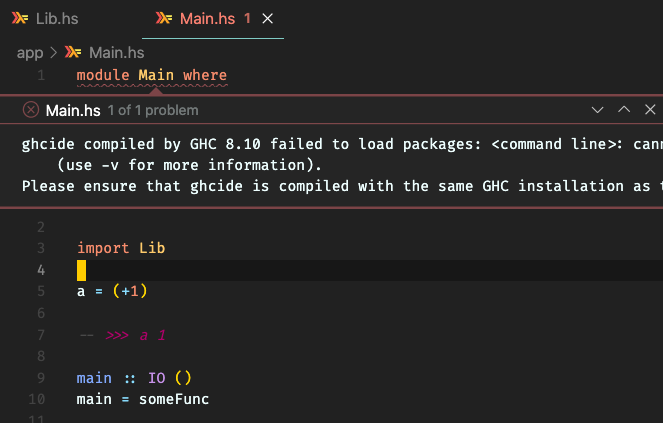
stack build 로 현재 프로젝트를 빌드한 후 > Haskell: Restart Haskell LSP server 를 실행하면 intellisense가 동작한다.
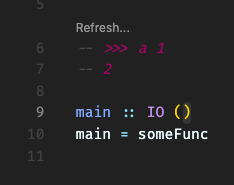
새 모듈을 만들거나 다른 모듈에서 모듈을 불러온 후 code evaluation 이 동작하지 않을 경우, build와 restart lsp server를 실행해보자
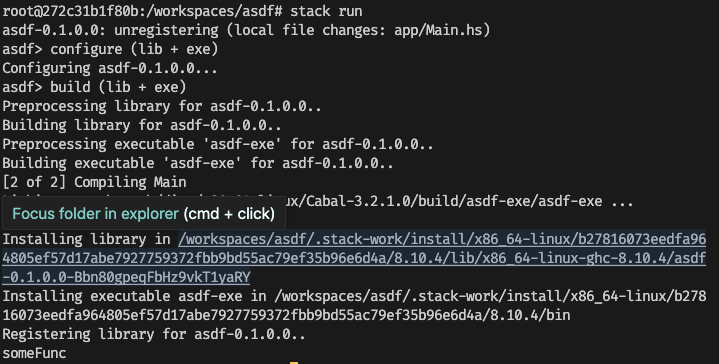
stack run
빌드후 결과를 바로 보는 방법은 stack run 이다.
dependency 추가
테스트를 사용하기 위해서 dependency를 추가할 일이 생겼을 것이다. 편한 길을 걸어보려고, 각종 튜토리얼이나 구글링을 했을 때 딱히 이쁘게 나온 글이 별로 없었다(역시 하스켈…). 사실은 stack guide에 아주 친절히 나와있었는데 ;;
stack new로 프로젝트를 셋업했다면, package.yaml 파일이 있다. 우리가 볼 항목은 dependencies 다.
dependencies는 root 아래, executables 아래, tests 아래에 attribute가 있다. hackage에서 패키지를 받아 알맞은 곳에 위치시킨다. 지금 예제의 경우는 test를 위함으므로 아래와 같이 tests 아래에 추가했다.
tests:
  asdf-test:
    main:                Spec.hs
    source-dirs:         test
    ghc-options:
    - -threaded
    - -rtsopts
    - -with-rtsopts=-N
    dependencies:
    - asdf
    - tasty
    - tasty-hunit
    - tasty-smallcheck
    - tasty-quickcheck
stack build 혹은 stack build --test 로 프로젝트를 다시 빌드하면, 알아서 추가된 패키지를 stack에서 설치한다. package.yaml 설정 후 stack으로 설치하면, 프로젝트 아래에 있는 $project.cabal 파일에도 dependency를 추가해주니 걱정없다.
stack test
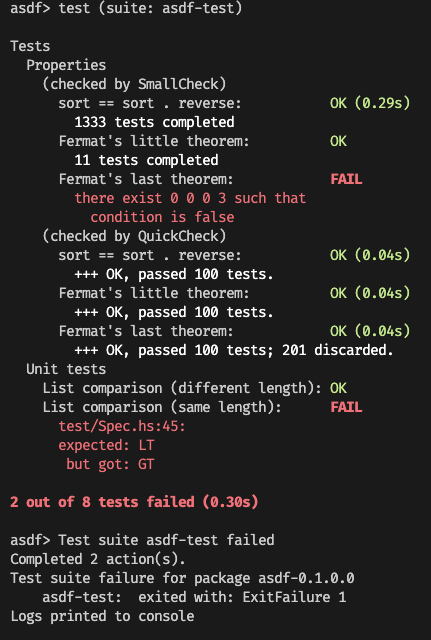
필자는 테스트 프레임워크로 tasty를 설치했으니, tasty에 있는 example code를 그대로 실행했다. stack test 로 실행하니 예제와 같은 결과 값이 나오는 것을 확인했다.
Intellisense Error
개발을 하다가 갑자기 intellisense가 잘 동작하지 않는 경우가 있었다. 구글링으로 hie.yaml을 설정해야 한다는 것을 알았다. stack project를 기본 템플릿대로 생성했다면 src, lib, test 코드 폴더가 메인일 것이다.
프로젝트 이름이 asdf라고 할때 아래와 같이 hie.yaml를 루트에 생성했다.
추후에 해당 내용을 조사후 업데이트 하겠다.
cradle:
  stack:
    stackYaml: "stack.yaml"
    components:
      - path: "./src"
        component: "asdf:lib"

      - path: "./app"
        component: "asdf:exe:asdf-exe"

      - path: "./test"
        component: "asdf:test:asdf-test"
여담
추가로 Hunit, SmallCheck, QuickCheck 등 테스트 프레임워크 사용방법이나, 테스트 커버리지 등을 하스켈에서 사용하는 방법을 공부하면서, 올려보겠다.